Using the Gatsby Blog Starter
Gatsby is optimized for speed and is easy to integrate with a variety of data sources. With our Gatsby Blog Starter, getting a site up and running with Agility CMS is easy.
Why use the Blog Starter?
It's simple - it's a bare-bones template but has enough examples in it for you to follow
Fast rendering - your website is exported to static HTML, so there's no more waiting for your webserver to piece together and render your HTML
Pre-fetching content- as a user scrolls through your page, content for the next page they are likely to click on is pre-loaded in the background, making that next page load that much more snappy
Lazy-loading, Optimized images - The Blog Starter will load images on the page that are is within the user's view, and only load appropriately sized images for the device the user is using so smaller devices will load smaller images
Accessible output - your website is static HTML files which are easier for screen readers to read
Accessibility tools - includes tools to automatically check code for best practices for accessibility
Features
- Uses Gatsby V3 - The latest version of Gatsby’s core framework which introduces massive improvement to the developer and user experience.
- Uses AgilityImage - A custom image component utilizing the new Gatsby Image Plugin that take's images stored within Agility CMS and handles all of the hard parts of displaying responsive images that follow best practices for performance on your website or application.
- Uses
gatsby-source-agilitycms- Our official Gatsby plugin that will only refresh content that has changed since your last build, so you can rest easy your builds will be fast, regardless of how many pages you have. - Uses Tailwind CSS for styling
- Supports full Page Management.
- Supports Preview Mode.
- Provides a functional structure that loads a Page Templates dynamically, and also dynamically loads and renders appropriate Agility CMS Page Modules (as React components).
Set Up the Instance
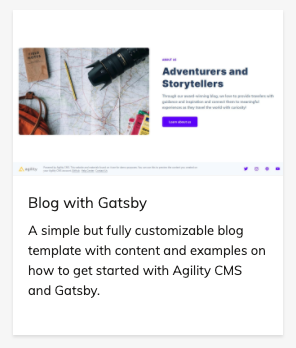
In order to get started with the Gatsby Blog Starter, Sign Up for a Free Agility CMS account.

Once you've created an account, you will be able to create a new Instance based off of the Blog Starter with Gatsby.
Set Up Your Local Environment
Once logged into Agility CMS, you'll want to grab your API credentials so your Gatsby site can authenticate and retrieve data from your instance.
From your Agility CMS dashboard, click into Settings > API Keys.
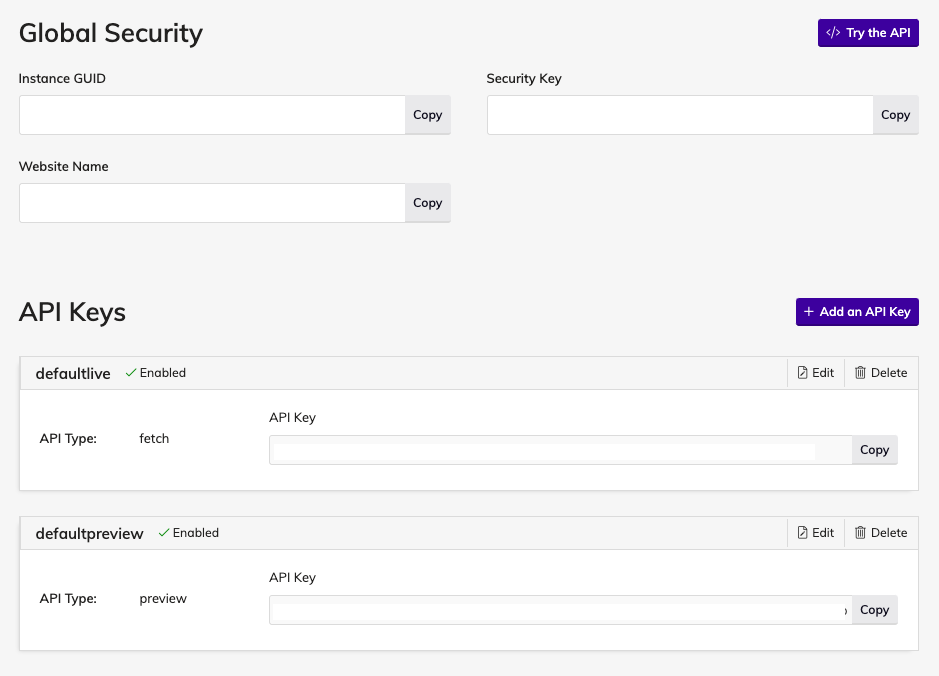
Take note of your GUID, Live API Key and Preview API Key credentials and copy these somewhere temporarily as you'll need to use them later.
Get The Code
Make sure you have the Gatsby CLI tool installed.
npm install -g gatsby-cliClone the Gatsby Blog Starter repo from GitHub that has all the code you need to get started.
gatsby new agilitycms-gatsby-starter https://github.com/agility/agilitycms-gatsby-starterSwitch to your the Gatsby Blog Starter directory.
cd agilitycms-gatsby-starterSet up Authentication
Rename the .env.development.example file to .env.development.
Add your Instance GUID and your Preview API Key to the .env.development file.
# Your Instance Id
AGILITY_GUID=

# Your Live API Key (recommended) - you can get this from the Getting Started Page in Agility CMS. It starts with defaultlive.
AGILITY_API_KEY=

# Since you won't want to preview here, set this to false
AGILITY_API_ISPREVIEW=false
Start The Site
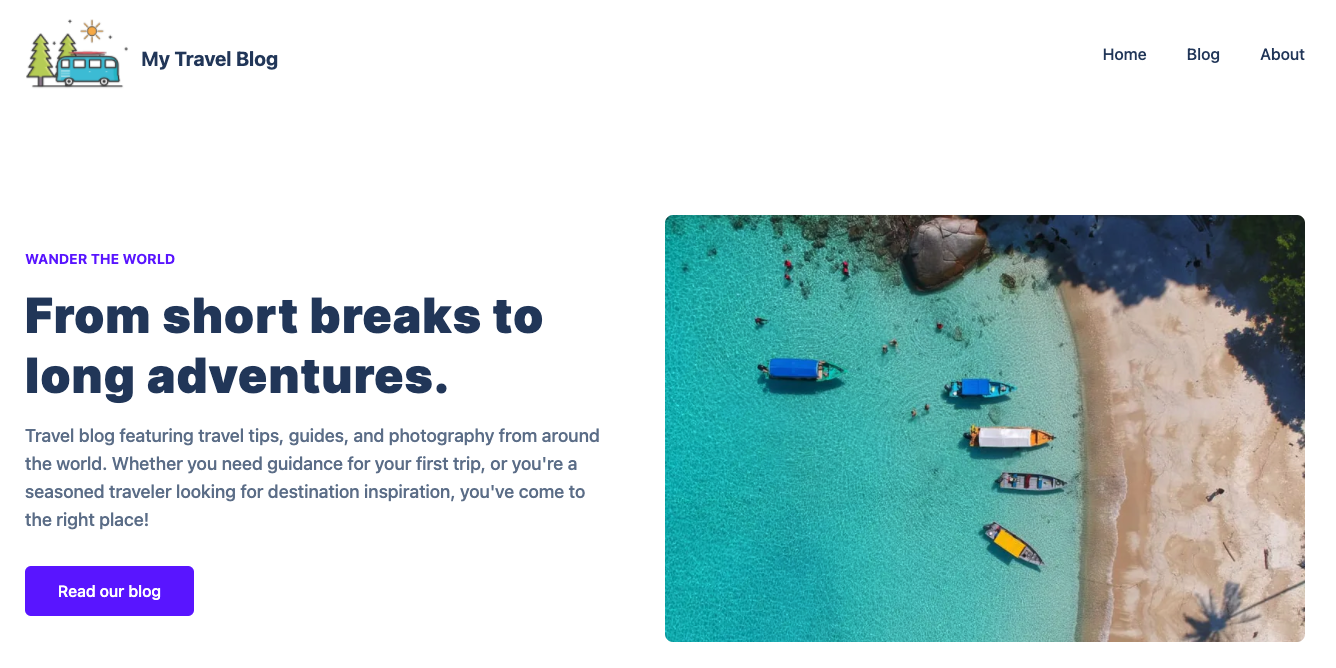
To run the site locally run gatsby develop.
If successful, your site's build should complete and you'll be able to view the site in your browser at http://localhost:8000.
Did you get a Build Error?
If you get an error during the build, check your log and ensure that you've entered your GUID and API Key in your .env.development file.
Deploying Your Site
The easiest way to deploy a Gatsby website to production is to use Gatsby Cloud from the Gatsby team. Gatsby Cloud is a platform that gives your Gatsby website superpowers! With intelligent caching and incremental builds, Gatsby Cloud takes the speed and performance of your Gatsby website to another level.
Note
You will need a GitHub account to get your project deployed.
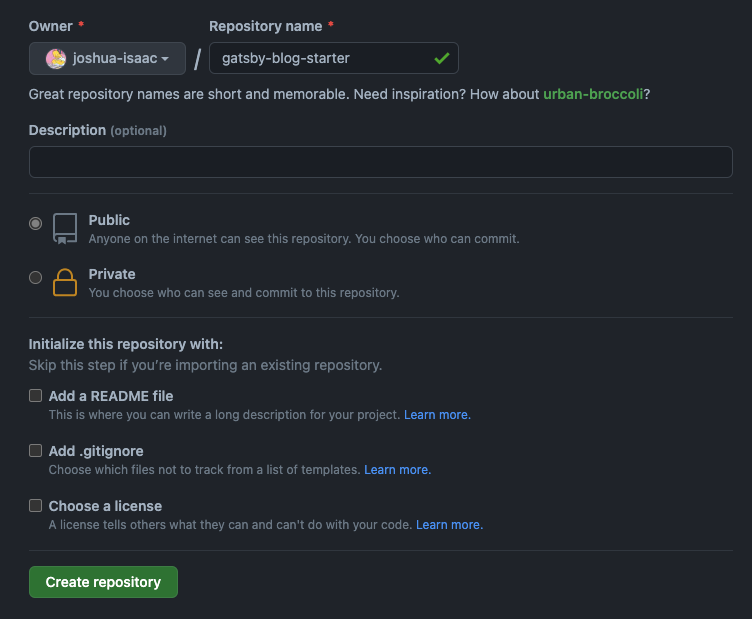
First, sign into Github and create a new GitHub repository.
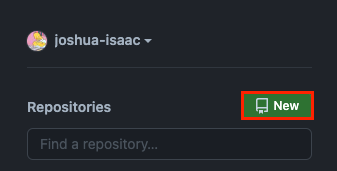
Give your repository a name and click create.
In the directory with your Gatsby Blog Starter code, run the following commands to add the code to your newly created repository:
git init
git add README.md
git commit -m "first commit"
git branch -M main
git remote add origin git@github.com:my-github-account/my-new-github-repo.git
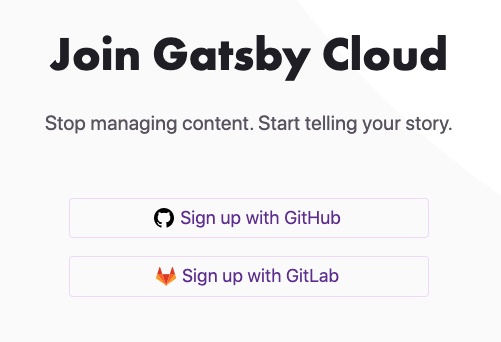
git push -u origin mainHead to the Gatsby website and create or log in to your account using GitHub or GitLab.
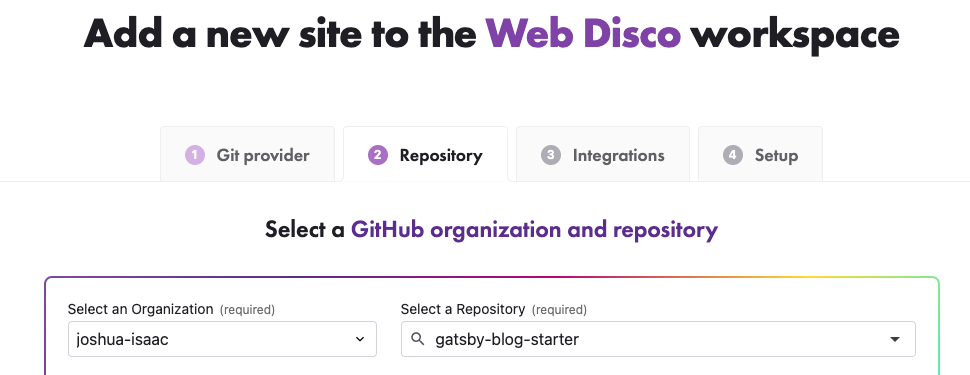
Once you're in you can add a new site by importing from a Git. Make sure you have a copy of the code for the Gatsby Blog Starter within your GitHub Repository.
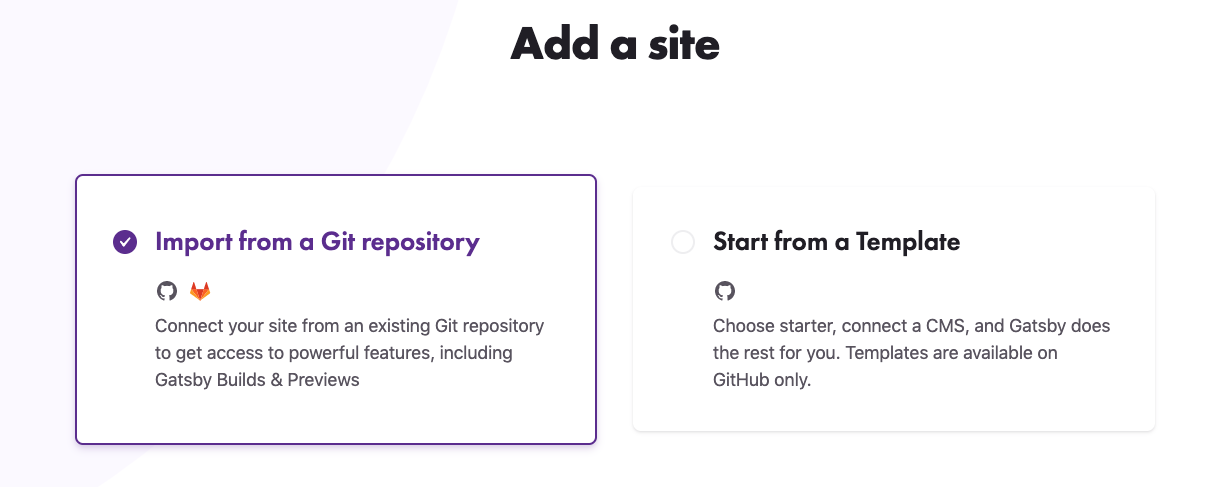
After you select your Git provider, select a Github organization and the repository containing your Gatsby Blog Starter code.
Next, you want to make sure you add your Build and Preview variables and hit save.
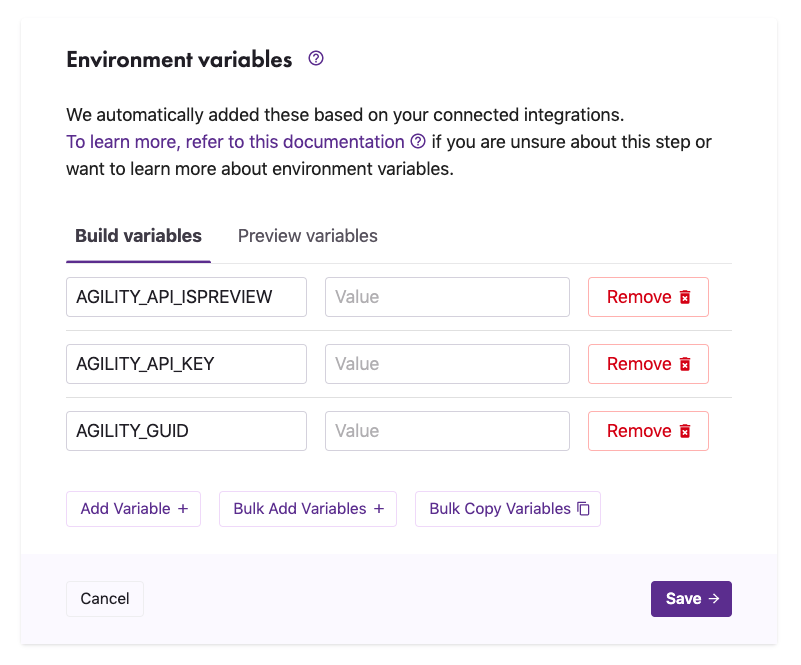
You can find the Keys needed for your environment variables in Agility under Settings > API Keys.
Build Variables:
AGILITY_API_ISPREVIEW = false
AGILITY_API_KEY = LIVE API KEY
AGILITY_GUID = INSTANCE GUID
Preview Variables:
AGILITY_API_ISPREVIEW = true
AGILITY_API_KEY = PREVIEW API KEY
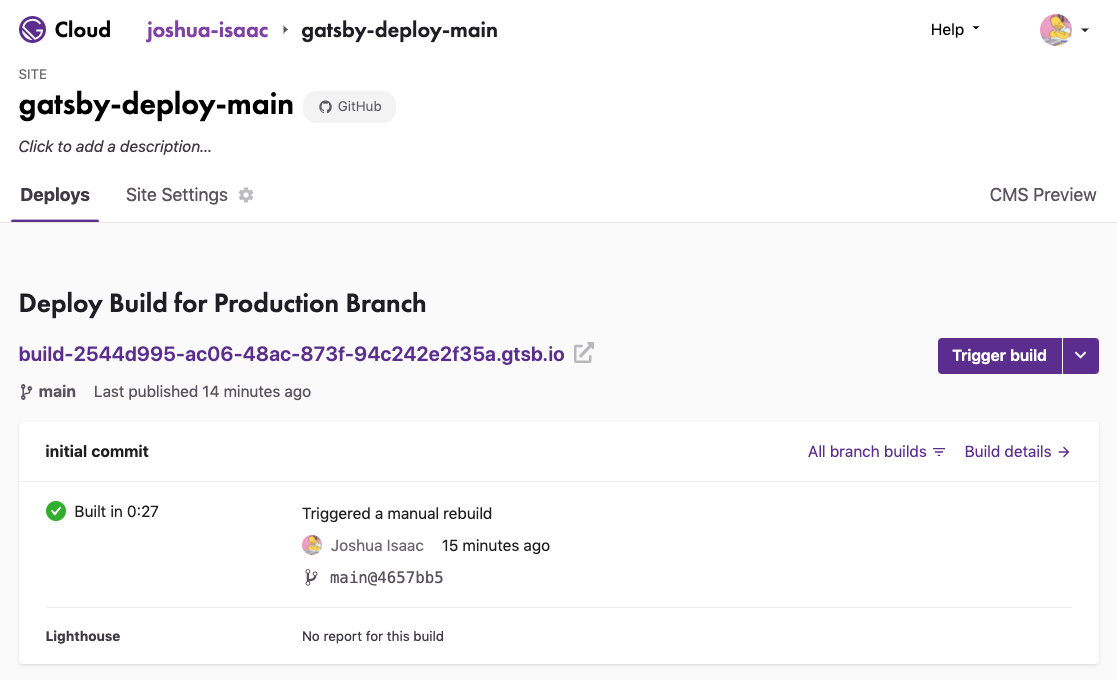
AGILITY_GUID = INSTANCE GUIDWhen you're ready, click Deploy.
The next time you make a commit, Gatsby will build a production deployment for you! You can also trigger a new build straight from within Gatsby Cloud.