Deploying Next.js to Netlify
This guide will cover the required steps on deploying your website or web application built with Next.js to Netlify.
Note
You will need to have a GitHub and a Netlify account to get your project deployed.
Deploy Via Netlify Integration
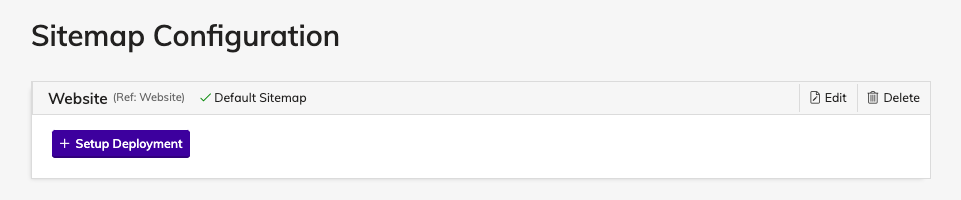
To start, head by going into Settings > Sitemaps, then click Setup Deployment.
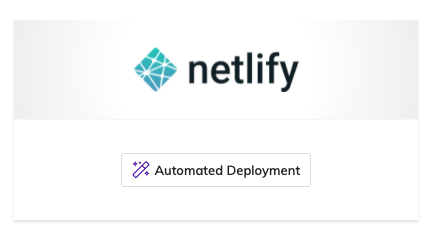
Select the Netlify Automated Deployment.
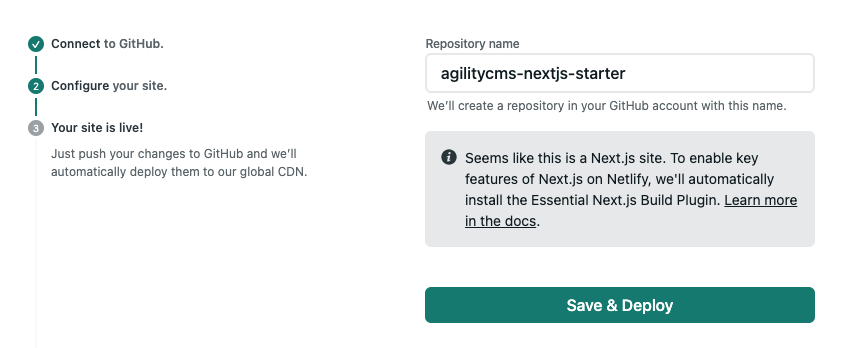
Allow Netlify to connect with your Github account.

Configure your site, Netlify will detect that you are deploying a Next.js site and install the Essential Next.js Build Plugin for you. Save & Deploy.
Once complete, Netlify will deploy a copy of the Next.js Blog Starter Template on a unique domain.

Setting Up Production Domain in Agility
To set up your Production Domain in Agility, copy the Deployment URL Netlify generated for you upon deploying your site. Set up a deployment in Agility by going to Settings > Sitemaps and click on the Setup Deployment button. From there, select a Custom Deployment.
Enter your deployment details and click Save.
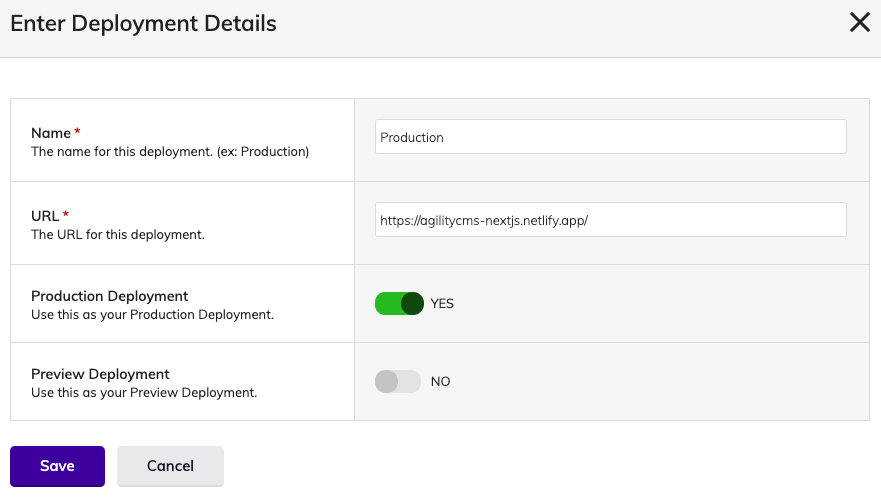
Your Production Domain will then be configured.

Setting Up Preview
Netlify Preview
It is important to note that Netlify Preview for Next.js is still experimental, and we are working on trying to make it the best experience we can. For now, we recommend setting up a separate Netlify deployment for your staging environment.
Create a new Netlify deployment and select the repository for the Next.js Blog Starter that Github created for your earlier.
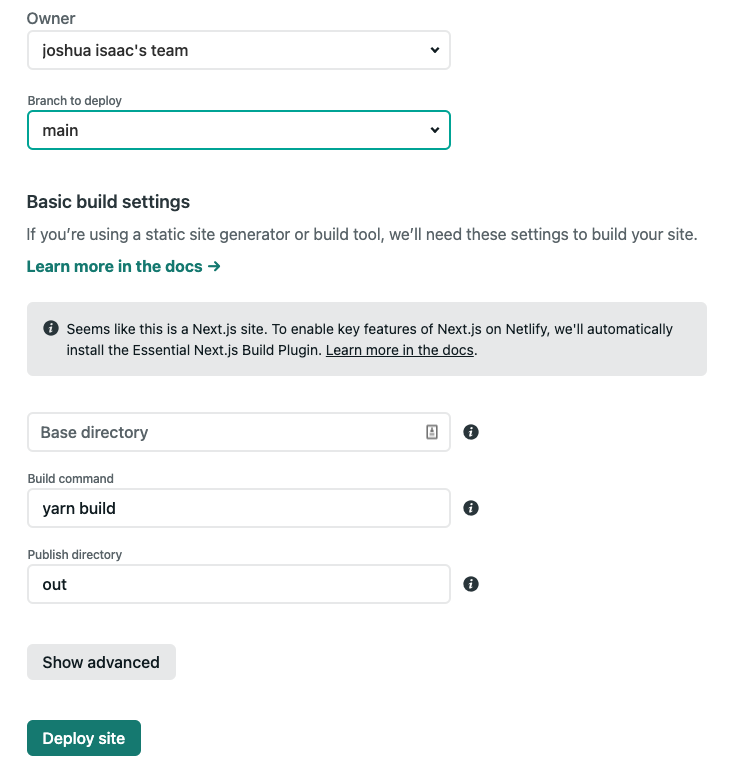
Update the site settings, be sure to click Show Advanced so you are able to configure your environment variables. The variables you'll need are the following:
# get these values from the API Keys page in Agility Settings => https://manager.agilitycms.com/settings/apikeys
AGILITY_GUID=xxx
AGILITY_API_FETCH_KEY=xxx
AGILITY_API_PREVIEW_KEY=xxx
AGILITY_SECURITY_KEY=xxx

# if you have multiple locales, comma separate them (e.g: en-us,fr-ca) without a space!
AGILITY_LOCALES=en-us
AGILITY_SITEMAP=website
When you've set up your site settings, click Deploy Site.
Rebuilding Your Site with Webhooks
You can rebuild your Next.js site deployed on Netlify with Webhooks whenever Content changes in Agility.
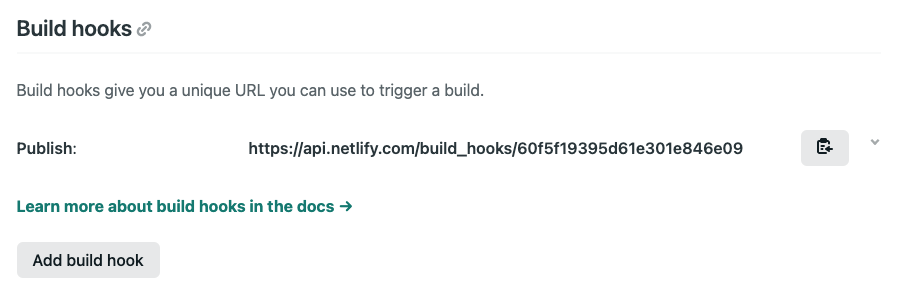
In Netlify, go to Site Settings > Build & Deploy > Build Hooks to create a new webhook. Give your webhook a name a select a branch you would like to rebuild. Click Save and copy the URL Netlify generates for you.
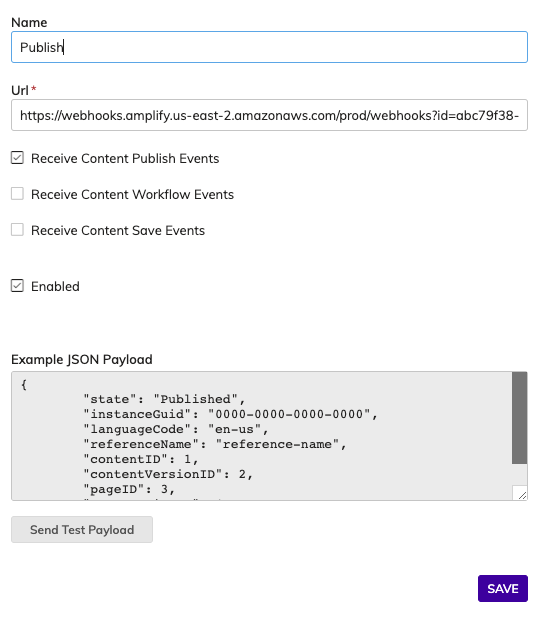
In Agility, go to Settings > Web Hooks to add a new webhook. Give your Webhook a name and paste in the URL.
For Production builds, make sure Receive Content Publish Events is checked off.
For Preview builds, uncheck Receive Content Publish Events, and check off Receive Content Save Events.
You can test the Webhook by sending a test payload.