Using the Next.js Commerce Starter
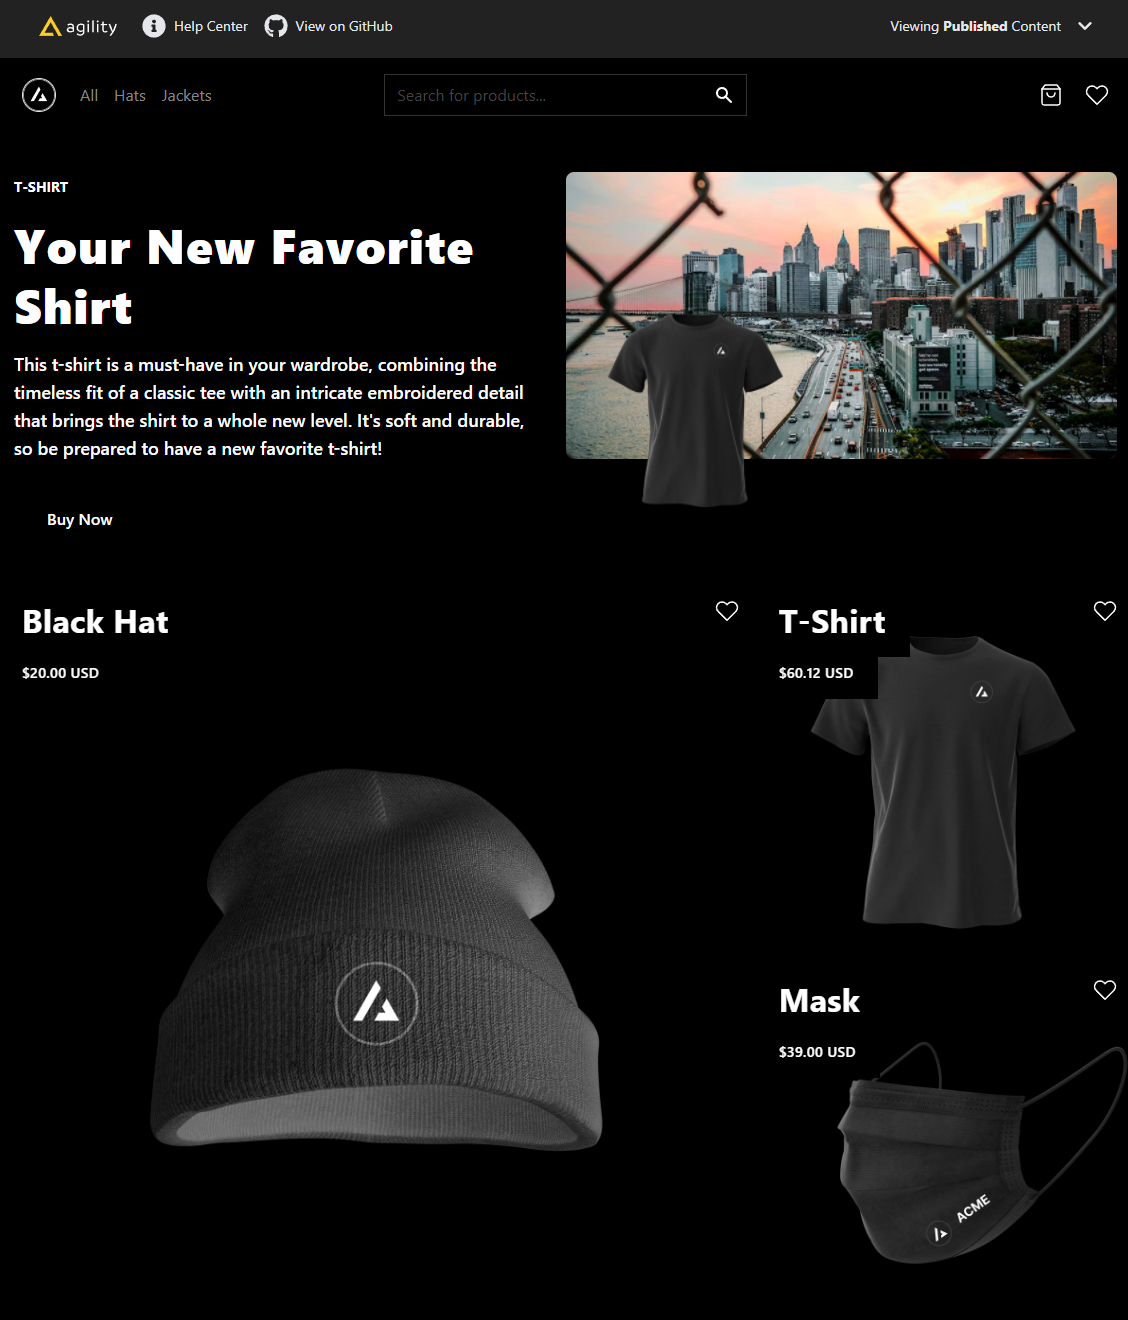
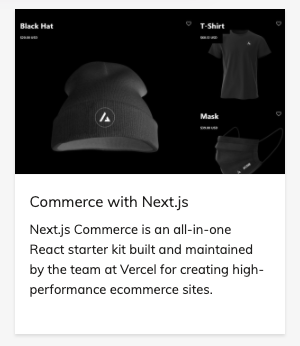
Next.js Commerce is an all-in-one React starter kit built and maintained by the team at Vercel for creating high-performance ecommerce sites. With just a few clicks, Next.js developers can clone, deploy, and fully customize their own store, managed with Agility CMS.
View Live Demo.
View Code Repository.
Features
Out of the box, Next.js Commerce ships with tons of amazing features such as:
- Image Optimization
- Internationalization
- Responsive
- Fast Refresh
- API Routes
- UI Components
- Ecommerce Platform Integrations
Content and Ecommerce Integrations
Next.js Commerce integrates with major ecommerce backend such as Shopify and BigCommerce.
We plan on supporting more ecommerce backends such as Swell, Saelor, & Vendure in the near future.
Agility CMS is used for Page and Content Management.
Set Up the Instance
In order to get started with the Commerce Starter, Sign Up for a Free Agility CMS account.
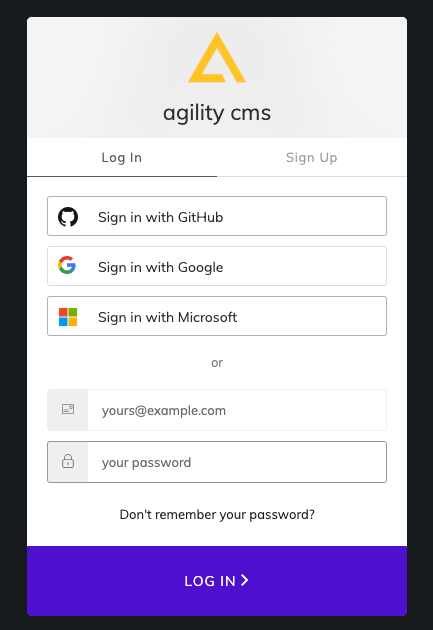
Once you've created an account, you will be able to create a new Instance based off of the Commerce Starter with Next.js.
Deploy Your Site
The easiest way to deploy the Commerce Starter to production is to use Vercel from the creators of Next.js. Vercel is an all-in-one platform with Global CDN supporting static & Jamstack deployment and Serverless Functions. You can get your Next.js and Agility CMS website deployed with a Preview Environment setup within minutes from your Agility CMS Manager!
Deploy via Vercel Integration
Note
You will need to have a GitHub and a Vercel account to get your project deployed.
To start, head by going into Settings > Sitemaps, then click Setup Deployment.
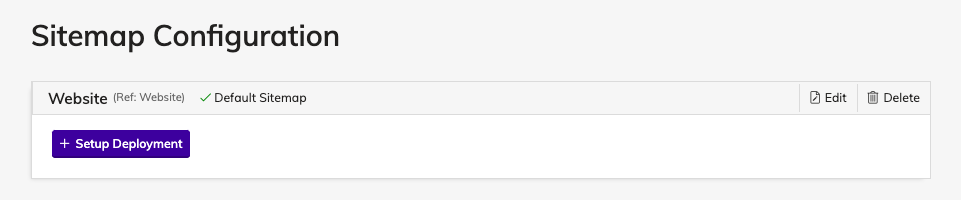
Select the Vercel Automated Deployment to connect to Vercel and deploy your Next.js website.

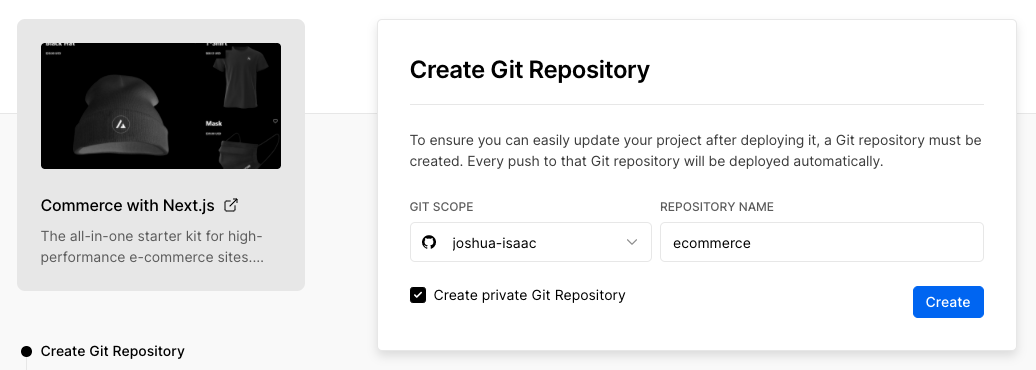
First, create a Git Repository for your project to ensure you can easily update your project after deploying it.
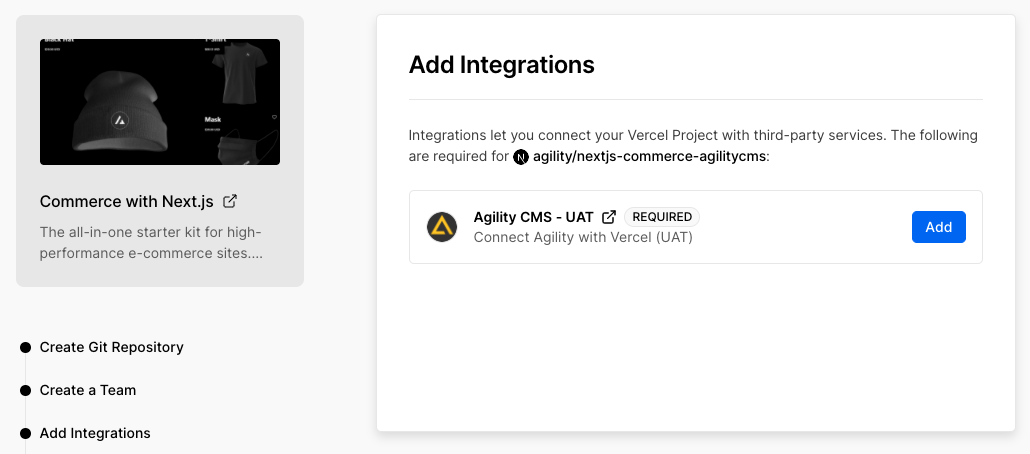
Next, Install the Agility CMS integration that will authorize access between Vercel and your Agility CMS content so that we can automatically configure your Production and Preview domains, as well as set up your Environment Variables.
Lastly, Vercel will fetch the source code for the nextjs-commerce-agilitycms and it will be cloned into your Git repository. Vercel will also build your project and upload/deploy your build output.
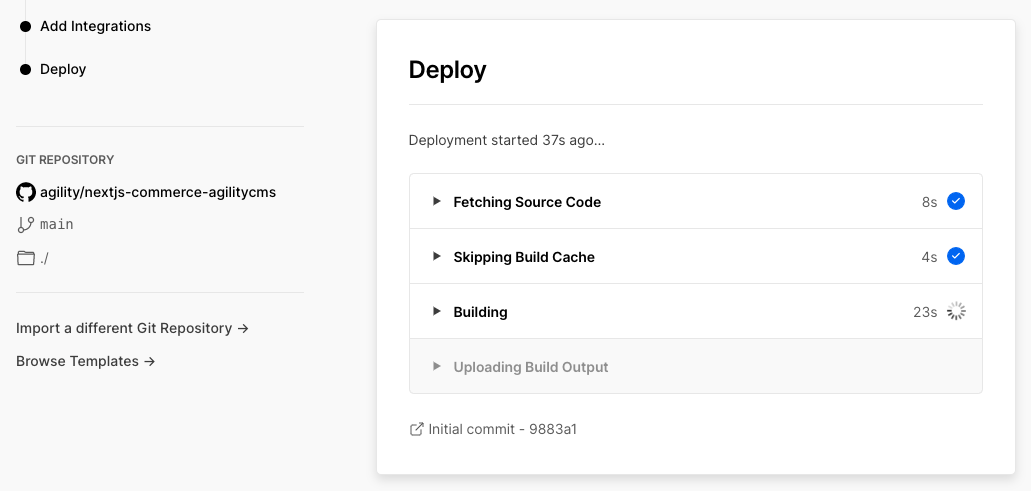
When the build is complete, you should see a deployed version of the Next.js Commerce site on Vercel.
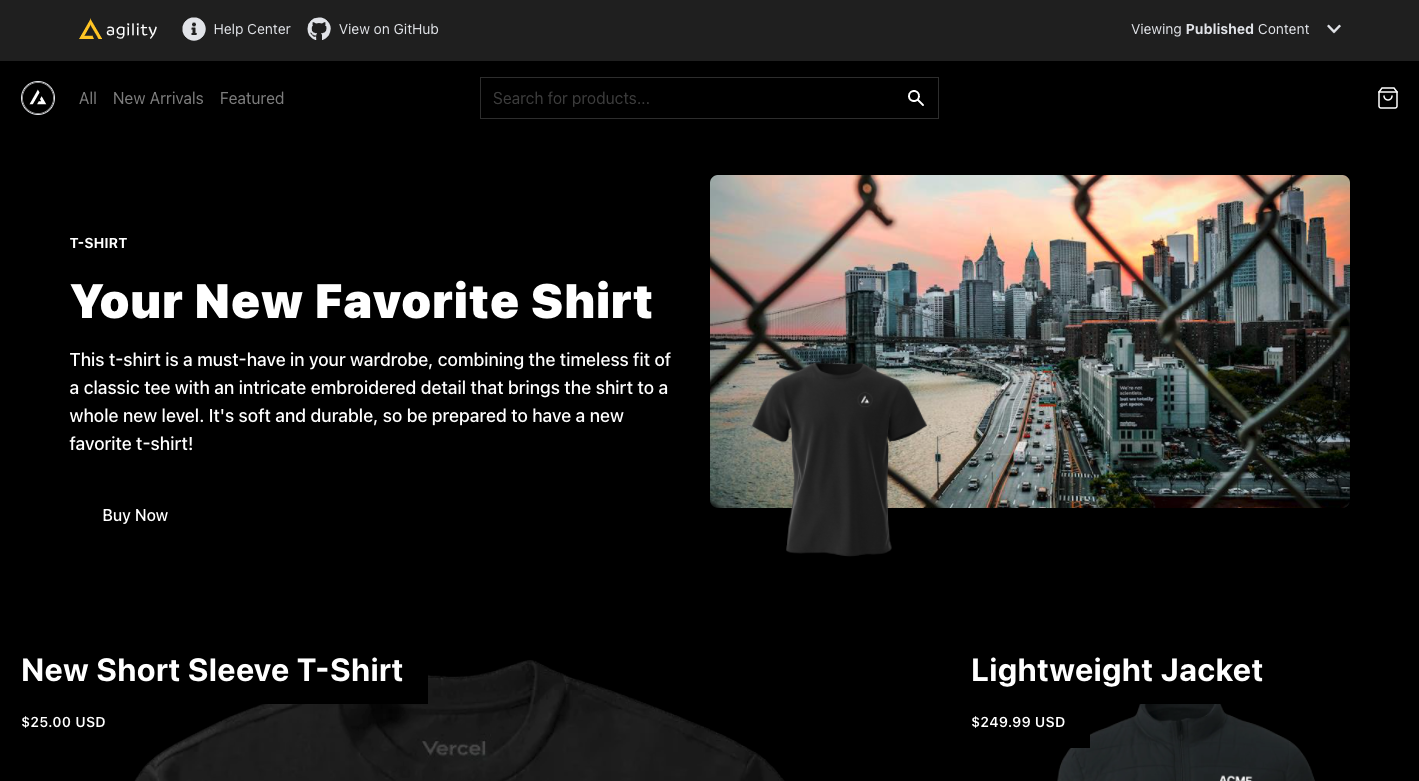
It is important to note that NO Ecommerce integration is configured during this deployment process. Depending on the Ecommerce provider decide to use, you'll need to add the corresponding Environment Variables to your Vercel Deployment. On the initial deployment, the Next.js Commerce site will display sample products as an example.
Updating the Search Products API
With the Next.js Commerce starter, we provide a Custom Field that allows you to search and select a product to add to any Page Module or Content Model, however you'll need to update the API URL Route within the code for the Next.js Commerce starter.
When deploying to Vercel, a new GitHub Repository will be created on your GitHub account containing the code for the Next.js Commerce starter, clone this to your local machine.
In the public directory, open up the custom-fields.js file and update the ajax url in the ChooseProductCustomField function to contain the domain of your deployed Next.js Commerce site on Vercel:
ajax: {
  url: "https://ecommerce-svf5.vercel.app/api/search-products",
  //url: "http://localhost:3000/api/search-products",
},
Updating the Custom Field UI Extension in Agility
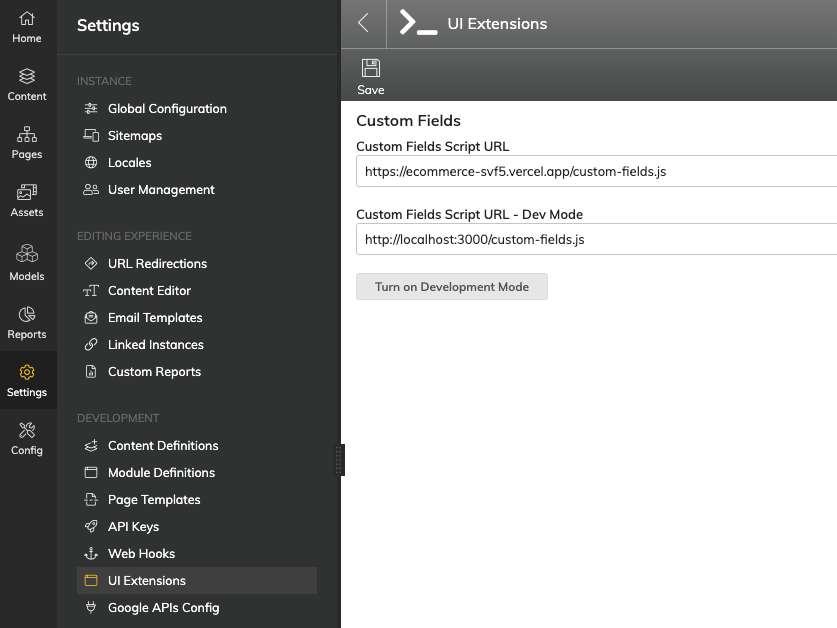
You will also want to update the Custom Field Script URL in the Agility Content Manager to point to the Custom Field script within your Next.js Commerce Site.
In Agility, head to Settings > UI Extensions. From there, update the Custom Fields Script URL with the URL from your Deployed Next.js Commerce site on Vercel.
Set Up Your Local Environment
Once logged into Agility CMS, you'll want to grab your API credentials so your Next.js site can authenticate and retrieve data from your Agility Instance and Ecommerce Providers.
From your Agility CMS dashboard, click into Settings > API Keys.
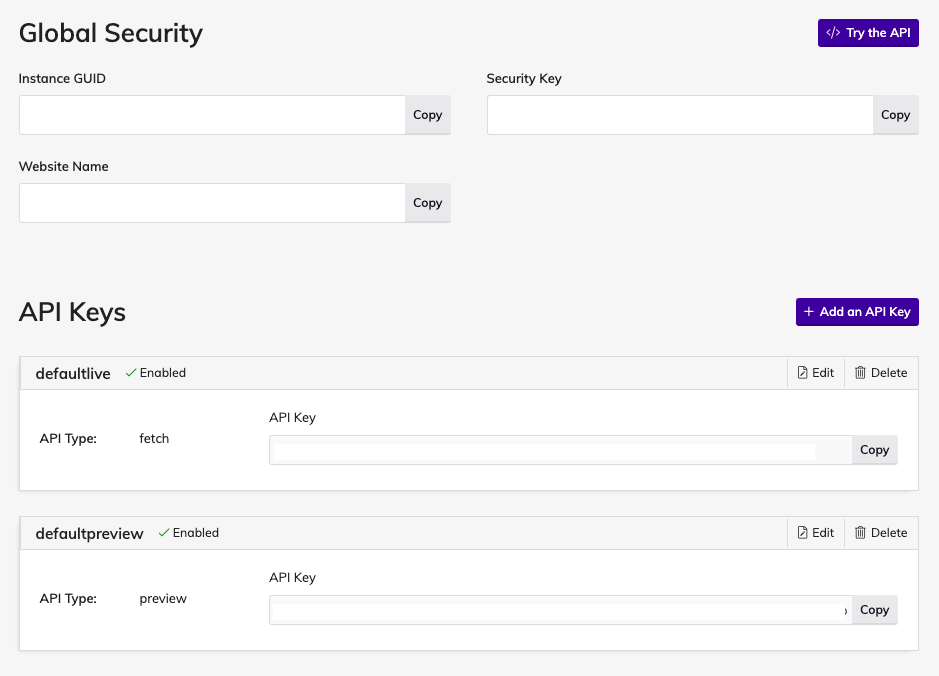
Take note of your GUID, Live API Key, Preview API Key, as well as Security Key credentials and copy these somewhere temporarily as you'll need to use them later.
Get The Code
Upon deploying your Commerce Starter, a new GitHub repository will be created in your GitHub account containing the code for the Commerce Starter.
- Clone the repository and open it in your favourite Text Editor.
- Run
yarn installto install the required packages and dependencies
If you are setting up the site without Deploy to Vercel, clone this repository.
Set up Authentication
- Rename the
.env.templatefile to.env.local - Retrieve your
GUID,API Keys (Preview/Fetch)andSecurity Keyfrom Agility CMS and place them in your.env.localfile.
# Your Instance Id
AGILITY_GUID=

# Your Live API Key
AGILITY_API_FETCH_KEY=

# Your Preview API Key
AGILITY_API_PREVIEW_KEY=

# Your Security Key
AGILITY_SECURITY_KEY=
Ecommerce Platform
The next step is to configure your Ecommerce Provider:
# Available providers: bigcommerce, shopify, swell, saelor
COMMERCE_PROVIDER=shopify
Depending on the Ecommerce Provider you select, you'll be required to add certain Tokens, URL's, ID's etc. For example:
#BigCommerce
BIGCOMMERCE_STOREFRONT_API_URL=
BIGCOMMERCE_STOREFRONT_API_TOKEN=
BIGCOMMERCE_STORE_API_URL=
BIGCOMMERCE_STORE_API_TOKEN=
BIGCOMMERCE_STORE_API_CLIENT_ID=
BIGCOMMERCE_CHANNEL_ID=
Learn how to get your BigCommerce Credentials
#Shopify
NEXT_PUBLIC_SHOPIFY_STORE_DOMAIN=
NEXT_PUBLIC_SHOPIFY_STOREFRONT_ACCESS_TOKEN=
Learn how to get your Shopify Credentials
Start the Site
To run the site locally, run npm run dev or yarn dev. If successful, Next.js will compile your pages in real-time and you will be able to access the site in your browser on http://localhost:3000.
Did you get a Build Error?
If you get an error during the build, check your log and ensure that you've entered the correct GUID and API Keys, configured your Ecommerce Provider correctly, as well as renamed the env.template file to .env.local.