Using the Angular Starter
Angular paired with Agility CMS is a stack that delivers remarkable Developer Experience (DX), enables lightning-fast User Experiences (UX), and allows for best-in-class Editor Experience (EX). This article is aimed to help you get started with Angular and Agility CMS using a starter site.
Develop Components, not Websites
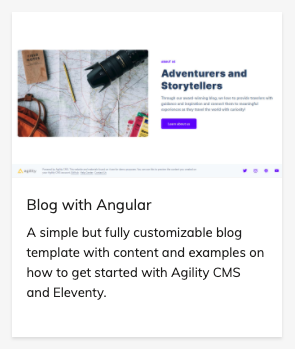
When building a site with Angular and Agility, we always recommend developers start by taking a look at our Blog Starter, rather than starting from a blank slate. It showcases features such as our native Page Management and shows how you should structure your Angular website. Our Angular and Agility starter serves as an example based on our recommended best-practices.
Editors have fine-grain control with the ability to manage all aspects of their page. They're able to control what pages are on their website, and what is on each page. This means you can focus on building UI Components (i.e. Page Modules and Page Templates) that editors will use/reuse to compose their pages.
Set Up the Instance
In order to get started with the Blog Starter, Sign Up for a Free Agility CMS account.

Once you've created an account, you will be able to create a new Instance based off of the Starter with Angular.
Get the API Keys
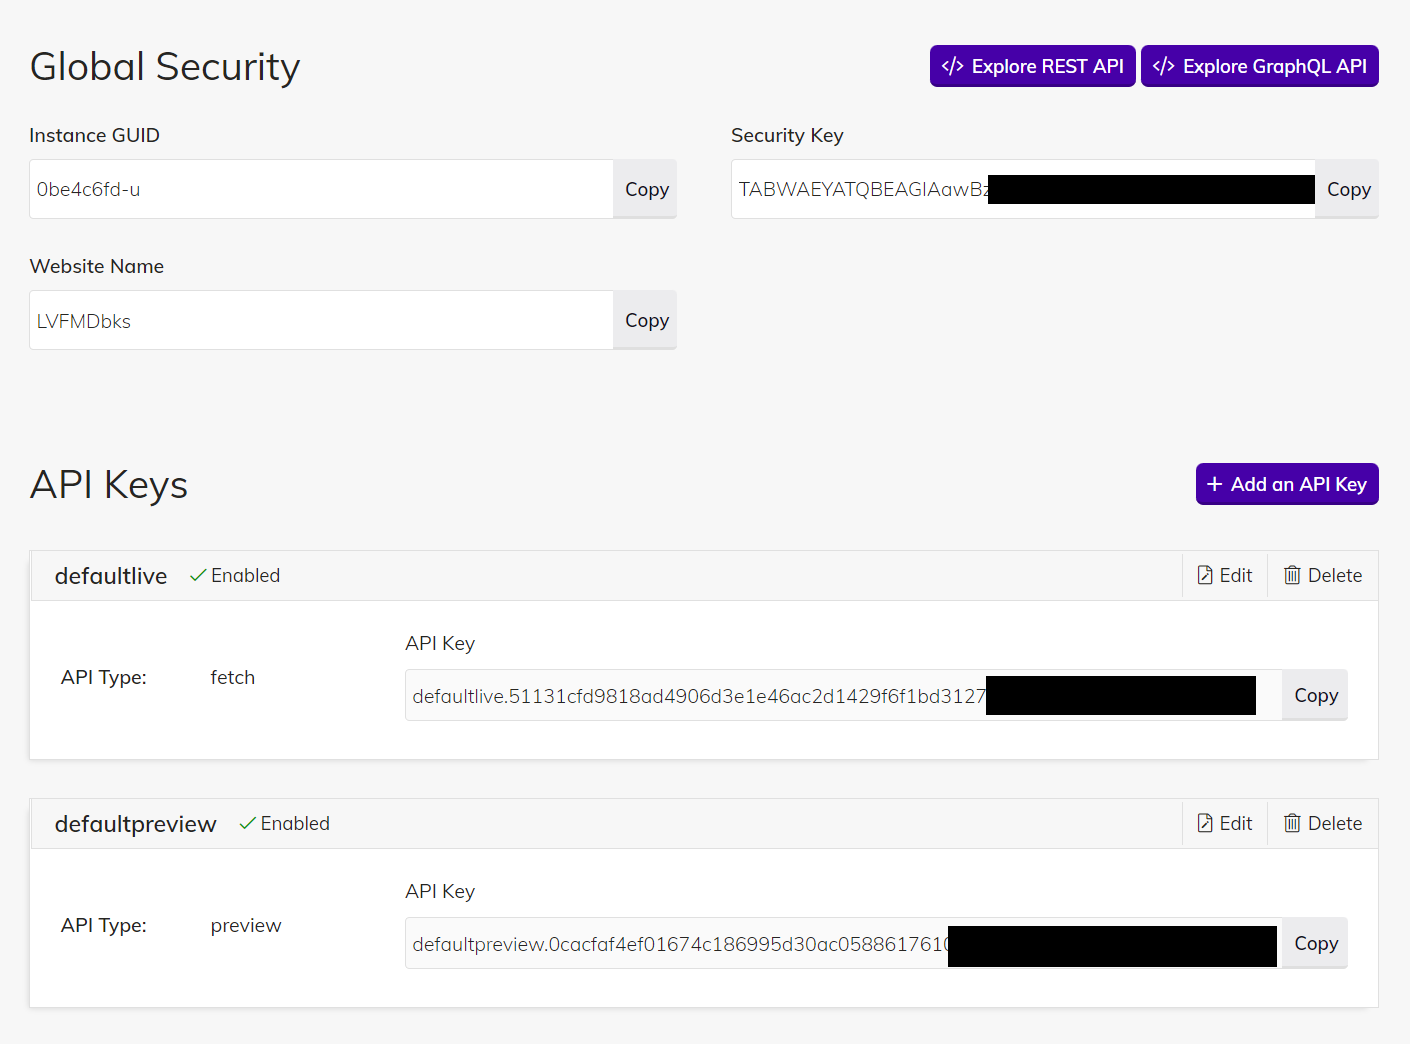
Once logged into Agility CMS, you'll want to grab your API keys so your Nuxt site can authenticate and retrieve data from your instance.
From your Agility CMS dashboard, click into Settings > API Keys.
Take note of your GUID, Fetch API key and Preview API key credentials and copy these somewhere temporarily as you'll need to use them later.
Get The Code
Clone the Blog Starter Template repo from GitHub that has all the code you need to get started. Open up the code directory in your favorite Text Editor.
git clone git@github.com:agility/agilitycms-angular-starter.gitRun npm install or yarn install to install packages and dependencies.
Set Up Authentication
- Open up your
src/environmentsfolder - Overwrite the values in the
environment.tsfile using your PREVIEW API KEY. - Overwrite the values in the
environment.prod.tsfile using your FETCH API KEY.
# Your Instance Id
AGILITY_GUID=

# Your Live API Key
AGILITY_API_FETCH_KEY=
Start The Site
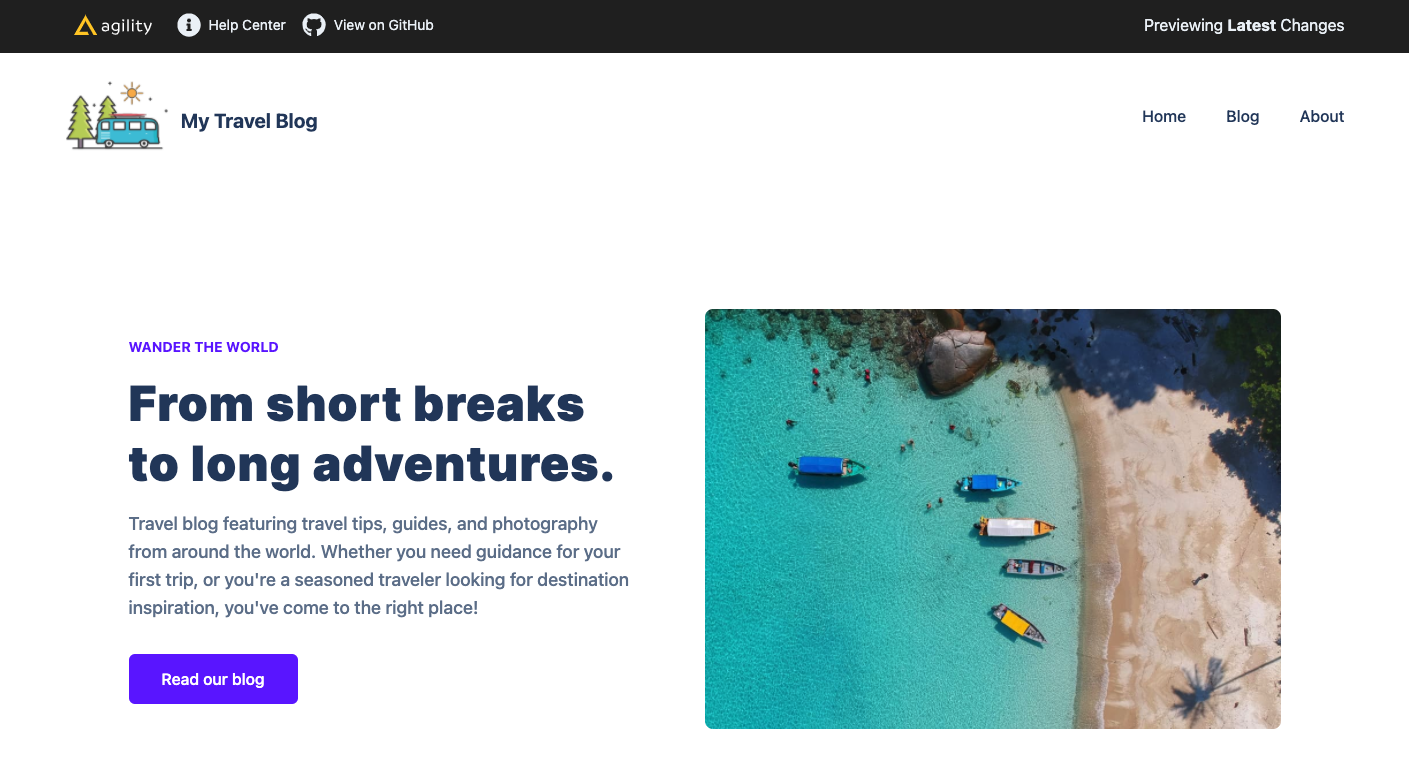
To run the site locally, run npm run start or yarn start for a dev server, then Navigate to http://localhost:4200/. The app will automatically reload if you change any of the source files.
This will also load the latest (staging mode) content from Agility CMS. When you change the content in the CMS, simply reload your page to see those changes updated on the site.
Did you get a Build Error?
If you get an error during the build, check your log and ensure that you've entered the correct GUID and API Keys in your environment.ts and environment.prod.ts files.